
Dr ARVIND UD MDS
SPECIALIZATION:
Oral & Maxillofacial Surgeon,
Implantologist,
DIRECTOR:
- Dr. Arvind’s Dental & Maxillofacial Clinic/ Kosmo Dental clinics Hyderabad. https://clinic.kosmodental.com/
PROFESSOR:
- Dept of Oral & Maxillofacial Surgery: Nanded Rural Dental College and Research Center Nanded: www.nrdcrcn.com/
MENTOR:
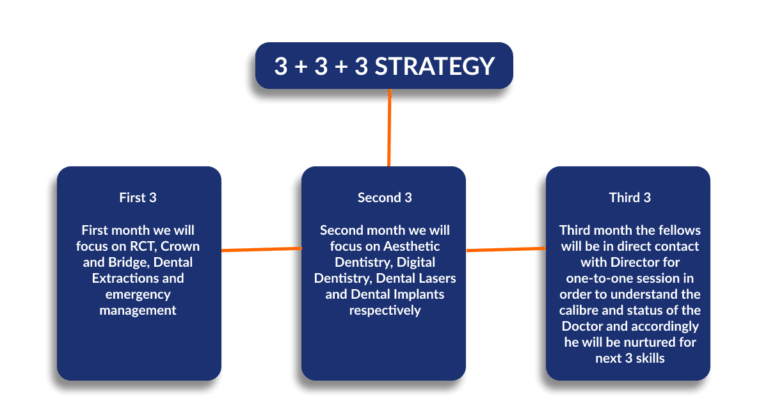
- Kosmo Dental Academy. https://careers.kosmodental.com
- UCAM university International PG diploma courses https://pgoucam.com/in/docentes/anil-goud-maddikunta
FELLOWSHIP:
- German University
Awards & Recognition:
- Received the “Excellence in Dental Implantology” award by the Indian Health Professional Awards in New Delhi, 2017
CLINICAL eXPERTY:
- Dental implant placements.
- Wisdom tooth extraction.
- Treatment of facial fractures.
- Jaw corrections.
- Removal of cysts, tumors, and infections.
Educational Background:
- Graduated from SVS Institute of Dental Sciences in 2007.
- Completed postgraduation in Oral & Maxillofacial Surgery from Panineeya Mahavidyalaya Institute of Dental Sciences in 2012
PUBLICATIONS:
- 4 international publications.
- 6 national publications.
Professional Affiliations:
- Served as an Executive Committee Member for the Association of Oral and Maxillofacial Surgeons of India (AOMSI) – Telangana State Chapter from 2015 to 2019.
- Held the position of General Secretary for the Telangana State Dental Surgeons Forum from 2014 to 2019.
Community involvement:
- Engaged in dental health awareness programs in Hyderabad.Provided free dental check-ups and camps in underprivileged areas in Hyderabad
SUMMERY
Dr. Arvind UD is a well-known implantologist in the field of dentistry, appreciated for his expertise and innovative techniques in dental implants. With years of experience, he has successfully handled various complex procedures like full-mouth rehabilitation, sinus lift surgeries, and immediate implant placements. Dr. Arvind regularly participates in international conferences and advanced training programs to stay updated with the latest advancements in implantology. His dedication to providing personalized care and achieving long-lasting, natural-looking results has made him highly trusted among his patients and peers
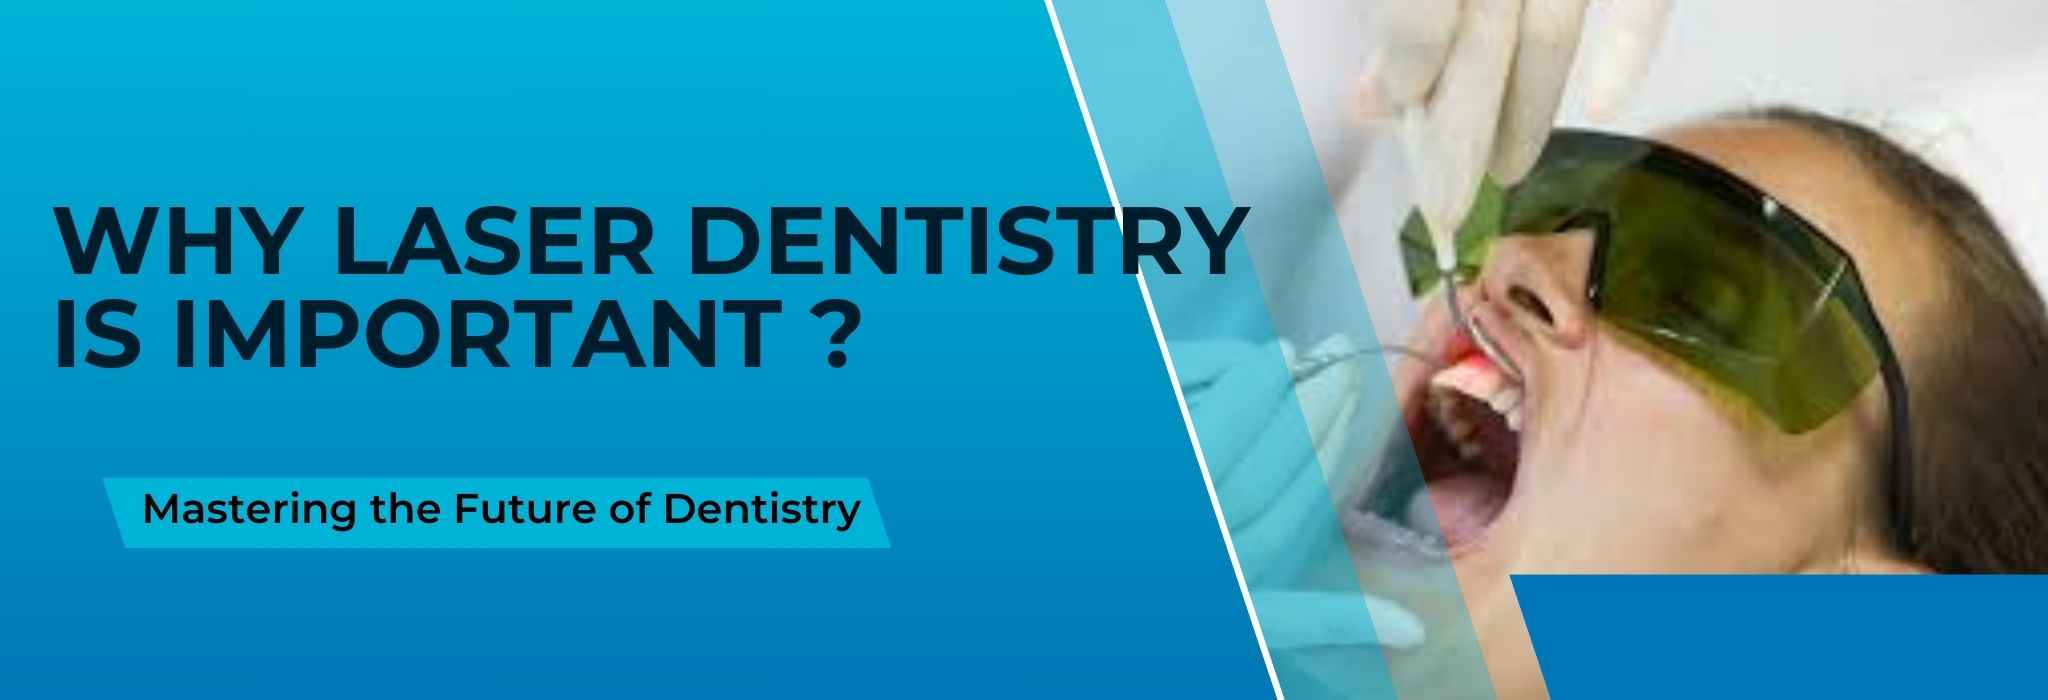
![Why Laser Dentistry is important? – [#10393]](https://careers.kosmodental.com/wp-content/uploads/2020/04/composite-fillings.png)