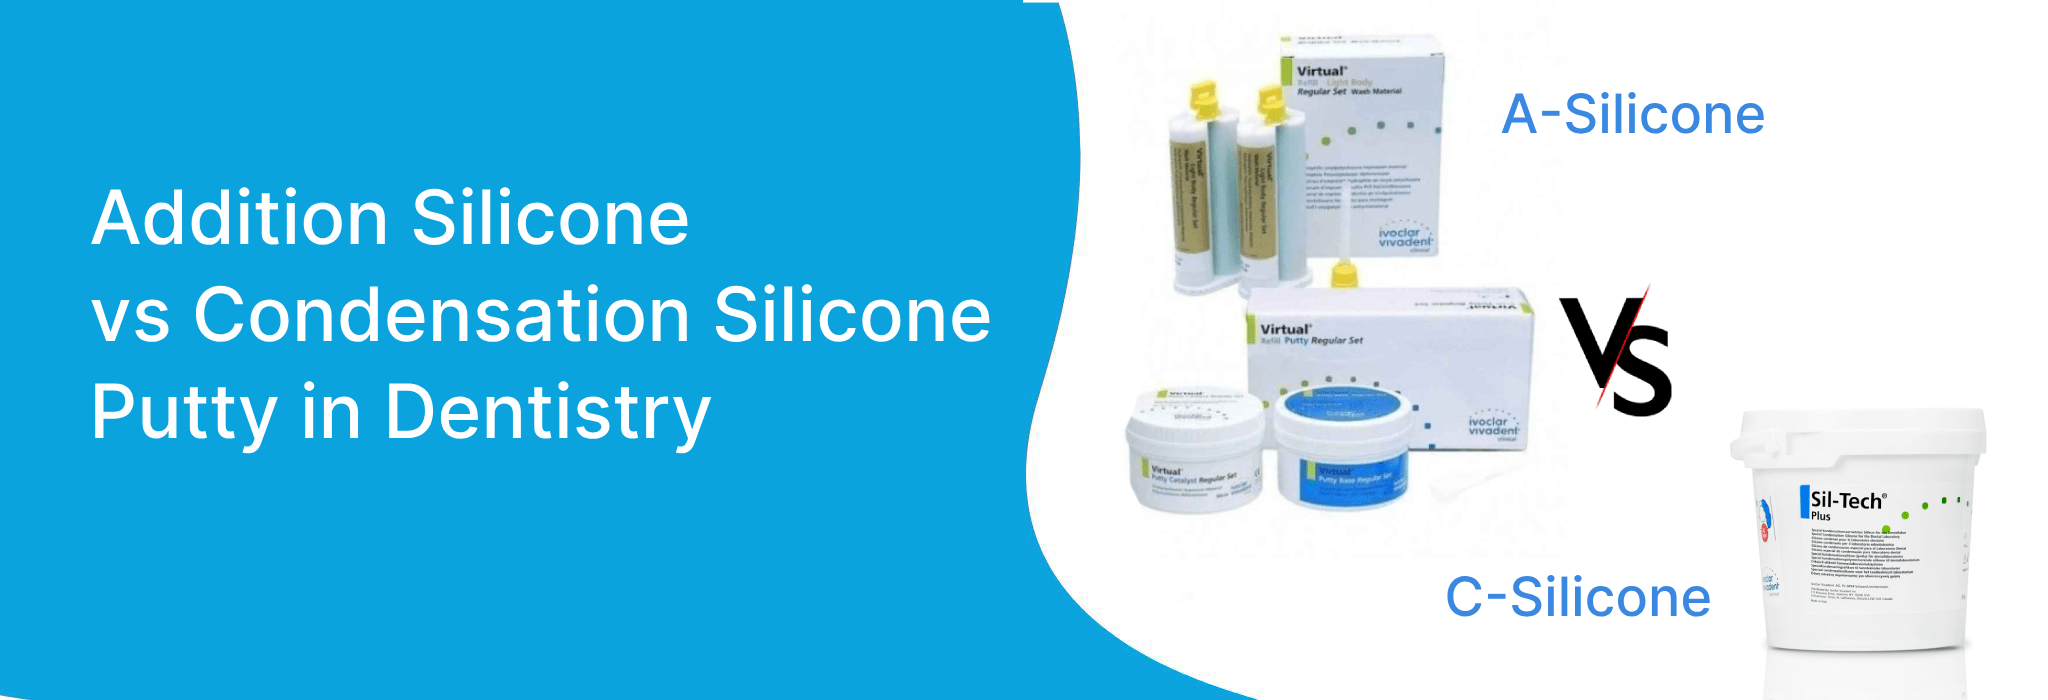
ADDITION SILICONE VS CONDENSATION SILICONE IN DENTISTRY
Welcome to the Kosmo Dental Academy blog, where we explore the fascinating world of dentistry. Today, let’s delve into the intricacies of dental impression materials, specifically focusing on the differences between addition silicone and condensation silicone putty.
Chemical Composition:
Addition Silicone: Also known as vinyl polysiloxane (VPS), addition silicone is a type of rubber that polymerizes by the addition of a curing agent without the release of byproducts. This ensures a highly accurate and stable impression.
Condensation Silicone Putty: This type of putty utilizes a condensation reaction during polymerization, releasing byproducts such as alcohol or gas. While effective, it may be prone to slight shrinkage over time.
DIMENSIONAL STABILITY:
Addition Silicone: Exhibits minimal shrinkage upon setting, ensuring the final cast accurately reflects the patient’s oral anatomy.
Condensation Silicone Putty: May experience slightly more shrinkage over time, potentially affecting the precision of the final cast.
DIMENSIONAL STABILITY:
Addition Silicone: Exhibits minimal shrinkage upon setting, ensuring the final cast accurately reflects the patient’s oral anatomy.
Condensation Silicone Putty: May experience slightly more shrinkage over time, potentially affecting the precision of the final cast.
SETTING TIME:
Addition Silicone: Recognized for its quick-setting properties, addition silicone offers a precise impression in a relatively short timeframe, contributing to enhanced patient comfort.
Condensation Silicone Putty: Generally, condensation silicone putty requires a longer setting time compared to addition silicone. This can impact workflow efficiency but may be suitable for specific cases.
ACCURACY & DETAIL REPRODUCTION:
Addition Silicone: Renowned for its exceptional accuracy and detail reproduction, addition silicone is often the preferred choice for intricate dental impressions, especially in restorative and prosthetic procedures.
Condensation Silicone Putty: While capable of providing accurate impressions, condensation silicone putty may exhibit slightly less detail compared to addition silicone, making it more suitable for less intricate cases.
CONCLUSION:
Choosing between addition silicone and condensation silicone putty in dentistry involves considering factors such as setting time, accuracy, dimensional stability, and tear strength. Both materials have their advantages and are valuable tools in the dentist’s arsenal. The Kosmo Dental Academy encourages practitioners to stay informed about the latest advancements in dental materials, ensuring optimal patient care and treatment outcomes.
BEST AND MOST ECONOMICAL STEPS FOR CROWN AND BRIDGE PROSTHESIS.